Earlier this week, I wrote a blog post that outlined 3 things to consider when looking building your own gaming PC. Part 2 of this article covers the two remaining tips for constructing your PC and getting it up and running.
Part 4: Setup and construction of your PC. You’ve now picked out your parts; you have your core components unboxed and are ready to create the monster that will be your gaming PC. The most important first step that many people skip over is making sure all of their ordered parts work, specifically before you begin to put your parts into your case. It is extremely important to take this first step because it is much easier to test and swap out non-working parts before they are secured into your case. Important side note: make sure to ground yourself to avoid harming your computer parts with electrostatic discharge. In addition to this, anytime you are connecting or disconnecting parts, unplug your power supply from its electrical source, and ensure that the switch on the back is in the “off” position.
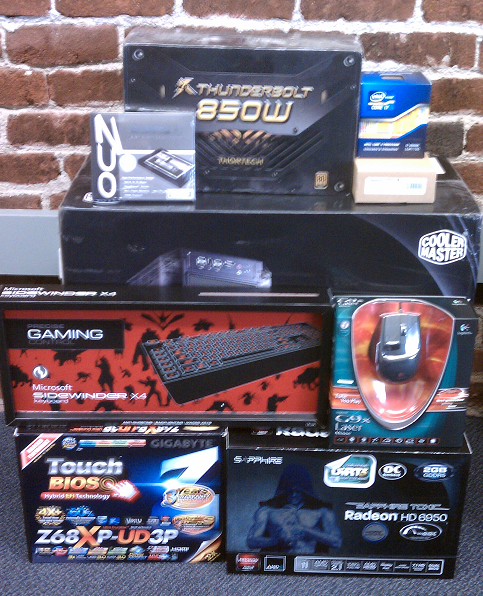
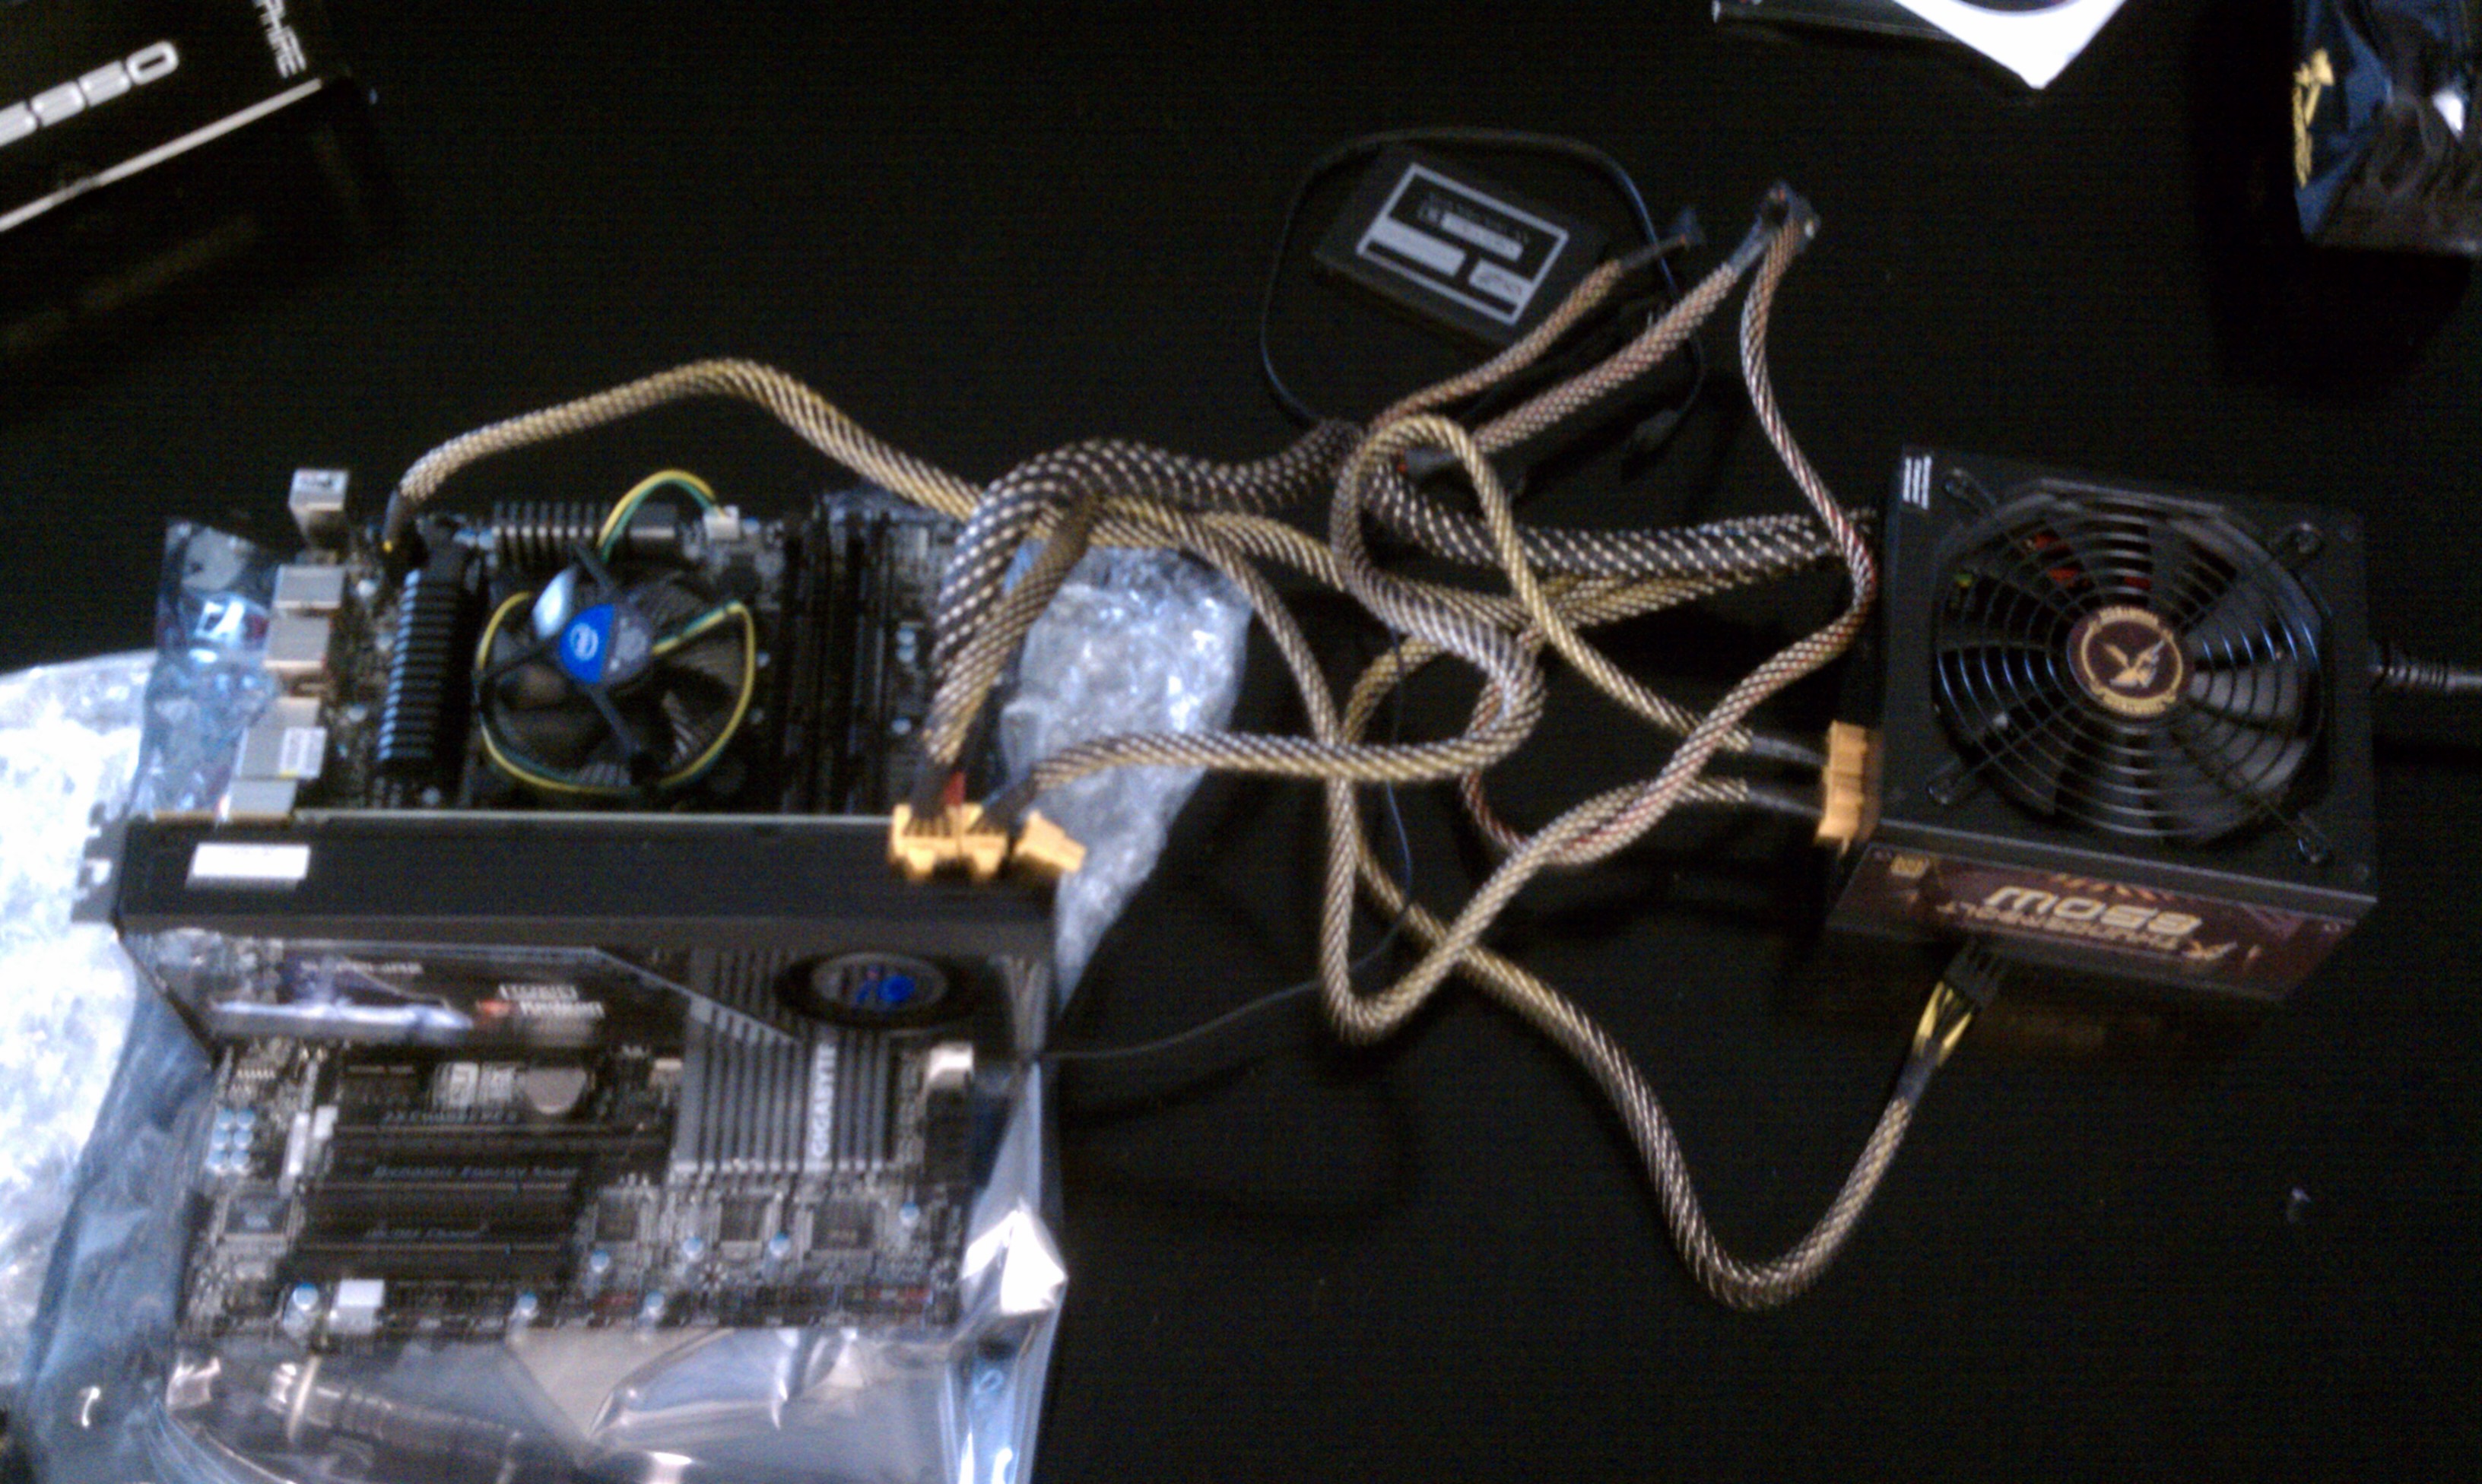
The next step is to connect your core components to your motherboard. This includes your processor, heatsink, video card, RAM, primary hard drive, and power supply. For your processor, make sure you read the instructions and set up your processor in the correct pin slots. Similarly, there are specific slots to put your RAM sticks in. All motherboards are different, so consult your included motherboard booklet to find the correct ones. For your PSU, make sure you run power to the 24-pin connector, and the 8-pin power connector to your mobo, as well as the power connectors on your graphics card.
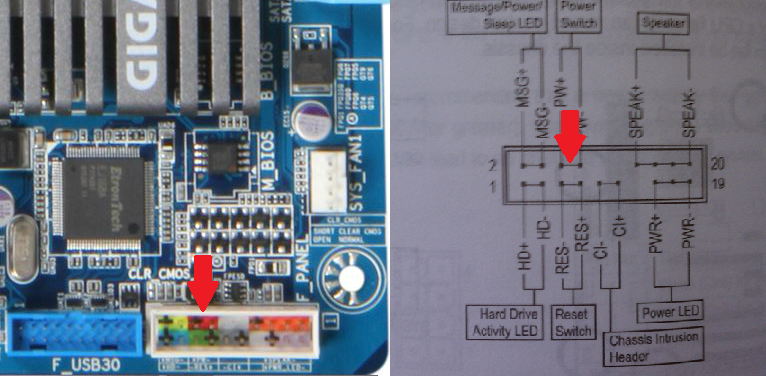
With everything set up outside of your case, it will look something like what is picture above. In order to make sure your parts work, you will need to close a power circuit on your mother board. You can use the end of a screwdriver to do this, closing the circuit and connecting the two points on your motherboard panel titled “power switch.” I have included a picture here to show you what the two power pins look like in the mobo booklet as well as on the mobo itself, which are highlighted in red.
Note that there are only two pins you should be connecting, and the panel is located on the lower right corner of your motherboard. After you touch the metal end of a screwdriver to these two points, your computer should start up. You’ll notice the heatsink fan, PSU fan, and GPU fan all begin to spin, as well as various lights on your motherboard coming alive. If any of the fans are not spinning, turn everything off by flipping the switch on the back of your PSU and recheck the connection of your cables and parts.
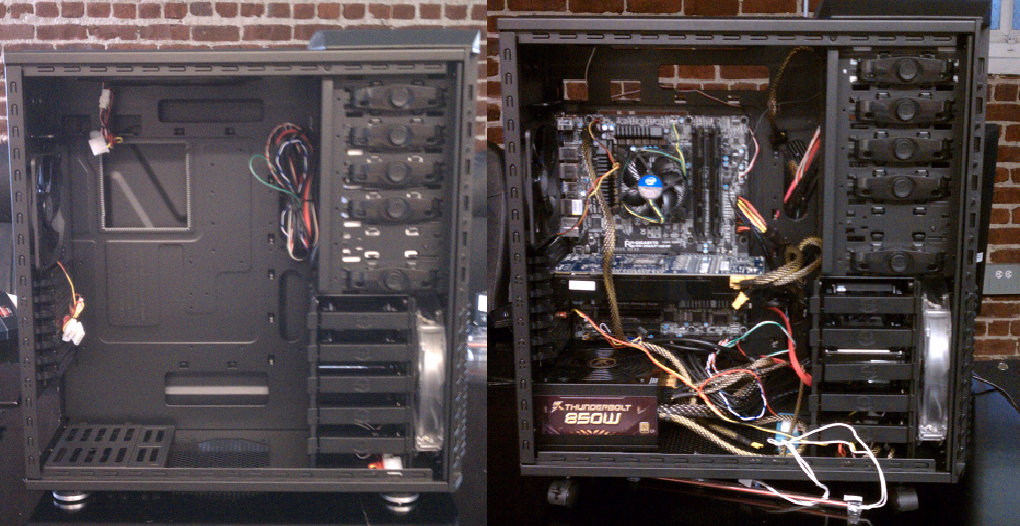
Once you ensure that all of your parts are working, you should disconnect your entire out-of-case setup, except for the processor/heatsink, and begin to put your parts into your case, starting with the motherboard. Once the motherboard is in and secure, you can connect your PSU, GPU, RAM, hard drives, DVD drive, case fans, and case buttons to your motherboard. All motherboards differ from one another, so if you are unsure of where or how to connect a certain part, consult your motherboard user manual. Additionally, you can leave a comment on this article and I will do my best to address your concerns myself.
You’ll want to take your time in hooking everything up to ensure proper cable management. This will help prevent your parts from heating up and improve your case airflow. As often as you can, run your cables through the back panel of your case to reduce clutter around your core components. Once you have all of your parts in, put those case panels back on and hook up your mouse, keyboard, and monitor(s). Before you’re ready to game, there is one last step you need to take.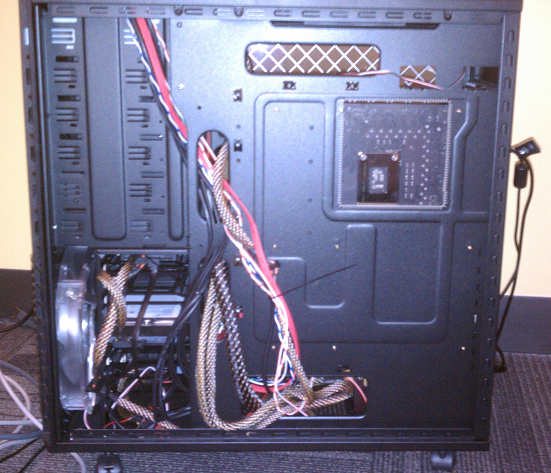
Part 5: Get your machine running. Once your computer is up and running, you’ll need to get all of your vital programs installed and running. For newer machines, you’ll want to install a 64-bit version of Windows. If you opted to get an SSD, make sure that you select to install the Windows OS on your SSD and not your internal hard drive. Once Windows is installed, you will be to install important drivers and BIOS. Your motherboard should come with a CD that has all of the software you need. Be wary of installing all of the software that is included on your disc, as some of the programs aren’t needed. All motherboard drivers differ, so if you’re unsure of what a specific driver does, Google your motherboard manufacturer with the driver name to find out more information. On top of your motherboard drivers, make sure to install the latest graphics drivers for whatever GPU you use. While your GPU may come with an installation disc, the driver in there will likely already be outdated. It’s also important to mention that if you are installer a newer graphics driver, you should completely remove the previous driver before installing the new one.
Once you have your important drivers installed, you can begin to put on software that will enhance your machine. For Antivirus software, I like to use Microsoft Security Essentials, as it is a low memory anti-virus that is free for Windows users and performs phenomenally. Additionally, you’ll want to install Malwareytes and Spybot: Search and Destroy. Both are great programs that should be run every two to four weeks to ensure that your computer stays spybot and malware free.
The other software you should put on your computer depend on your personal computing habits. When you are looking to install all of your software, unfortunately, it can be difficult finding all of the correct installers from each respective website. A great tool to use in order to easily install numerous software programs is Ninite. In a nutshell, Ninite is an installer aggregator: you select which programs you would like to install and Ninite then makes one simple installer, which will include everything you’ve chosen. Note that in order for your Ninite installer to work, you will need an internet connection.
Once your software is set up, it’s time to game! If you have any experience with gaming at all, you’re likely familiar with Valve and their gaming portal, Steam. If you aren’t, Steam is a one-stop-shop where you can buy, download, and play almost any PC game available. What’s great about Steam is that you can take your account with you anywhere, enabling you to log-in to your Steam account on any computer and download/play your games.
You are now a PC gamer; congratulations! Take solace in the fact that you can play almost anything, and at any point can upgrade your system to enable a better gaming experience. If you have any questions about setting up your PC or would like recommendations on parts to get, let me know in the comments.
Happy Gaming!

Can’t believe that there isn’t a single comment here, well let me be the first to thank you: Thank you for your time and effort Phillip Klugman, this guide really informed me