Launched by Pong 40 years ago, home gaming has become a staple in millions of households worldwide. Whether you’re a mobile, console, or PC gamer, the evolution of technology will continue to make all forms of gaming available to the masses. Newer, better technology will also become cheaper, which will enable a wider audience of gamers to really immerse themselves in their hobby of choice.
While the points can be argued until the end of time, I believe best way to really experience and immerse oneself into a game experience is through a PC. Contrary to popular belief, PC gaming is not dying, and PC gaming provides a more customizable experience in terms of settings, and ease of use. In addition to this, the graphical capabilities of PCs far outweigh those available on current (and most likely future) generation consoles.
Building a gaming PC is tough, with many different parts that are combined to breathe life into a gaming monster. Along with providing a sense of do-it-yourself satisfaction, building your own gaming PC is one of the most rewarding experiences for any hardcore gamer or technology enthusiast. Since there are many intricacies involved in creating that perfect gaming PC, I’ve created a list of 5 tips to help everyone, from budget buyers to PC aficionados, in making their perfect PC.
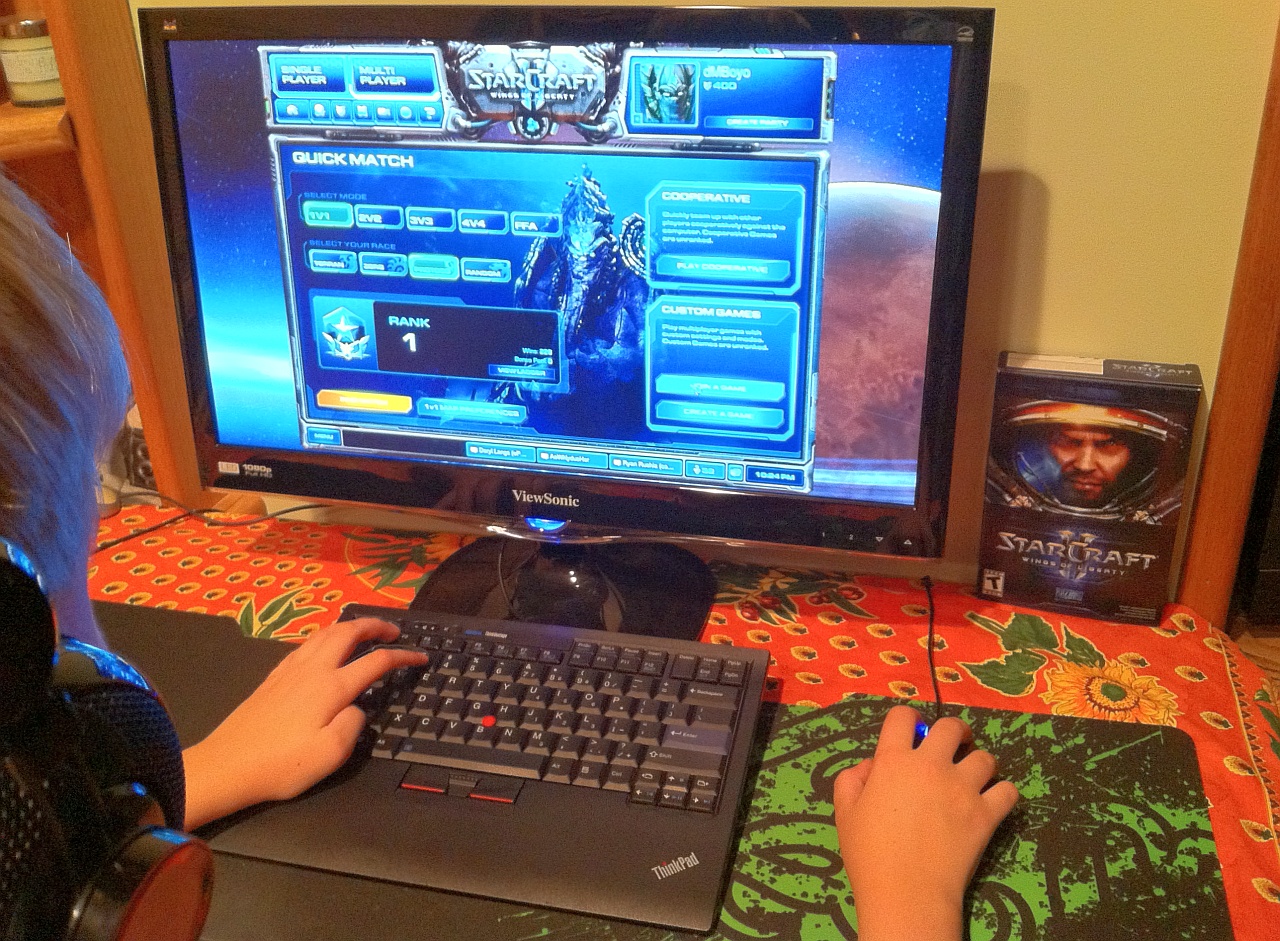
Another important thing to consider for your budget is whether or not you already have a mouse, keyboard, and monitor. A good gaming mouse and keyboard combo can cost around $120, and a single 23” LCD monitor will run you around $160, but these are one-time purchases that will last around 3-5 years or longer if cared for properly. When you are next upgrading your PC, you will likely continue to use the same mouse, keyboard, and display.
Step 2: Pick your pony (company). There are two companies that manufacture central processing units (CPUs): Intel (Integrated Electronics Corporation) and AMD (Advanced Micro Devices). Techradar has a great interview article that very thoroughly looks at the Intel vs. AMD debate. Personally, I have always gone with Intel processors, which are more expensive but are better for overclocking. AMD CPUs are great processors at a cheaper price than most comparable Intel CPUs. In the end, it usually comes down to personal preference and who has come out with the latest CPU. No matter which one you pick, make sure you pick the corresponding motherboard (mobo).
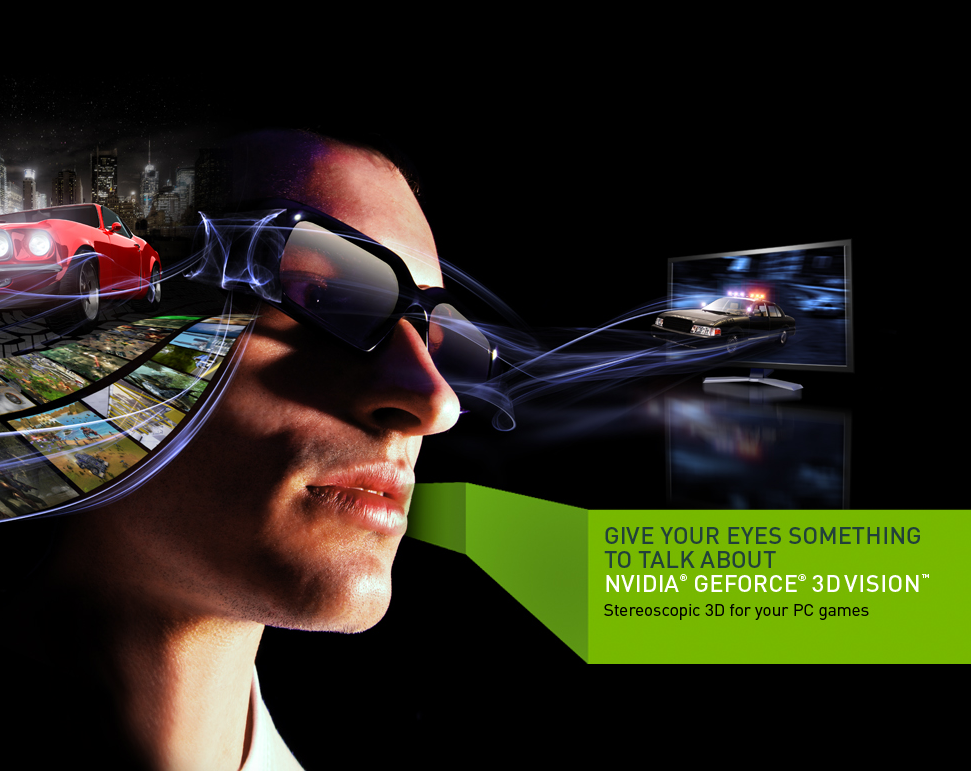 Just like CPUs, there are also two companies to choose from when looking at graphics processing units (GPUs a.k.a. video cards): NVIDIA and AMD. NVIDIA cards focus on providing a 3D gaming experience to gamers via additional hardware. While 3D can seem like a gimmick to some, I was extremely impressed by Batman: Arkham Asylum at this year’s GDC using NVIDIA 3D. NVIDIA also just released their Kepler series video cards, which currently beat out AMD’s 7990 series as the fastest video cards in the world and for the first time allow 3 independent displays to be run from one NVIDIA card. AMD cards, on the other hand, offer something called Eyefinity through their software, which allows gamers to plug 3 monitors into one card and get a 180-degree view of whatever game they choose to play. While setting up Eyefinity can be difficult, it provides a one-of-a-kind gaming experience that really immerses you into whatever you are playing. Flying a jet in Battlefield 3 and seeing an enemy flank me through the periphery of a side monitor was a jaw-dropping experience.
In the end, it comes down to personal preference and budget. Certain NVIDIA cards are cheaper than their AMD counterparts, and vice-versa. Remember, too, that if you want to fully utilize your video card, you will need 3 displays for your AMD card to run Eyefinity, and a 3D compatible 120Hz monitor for your NVIDIA card to run 3D. 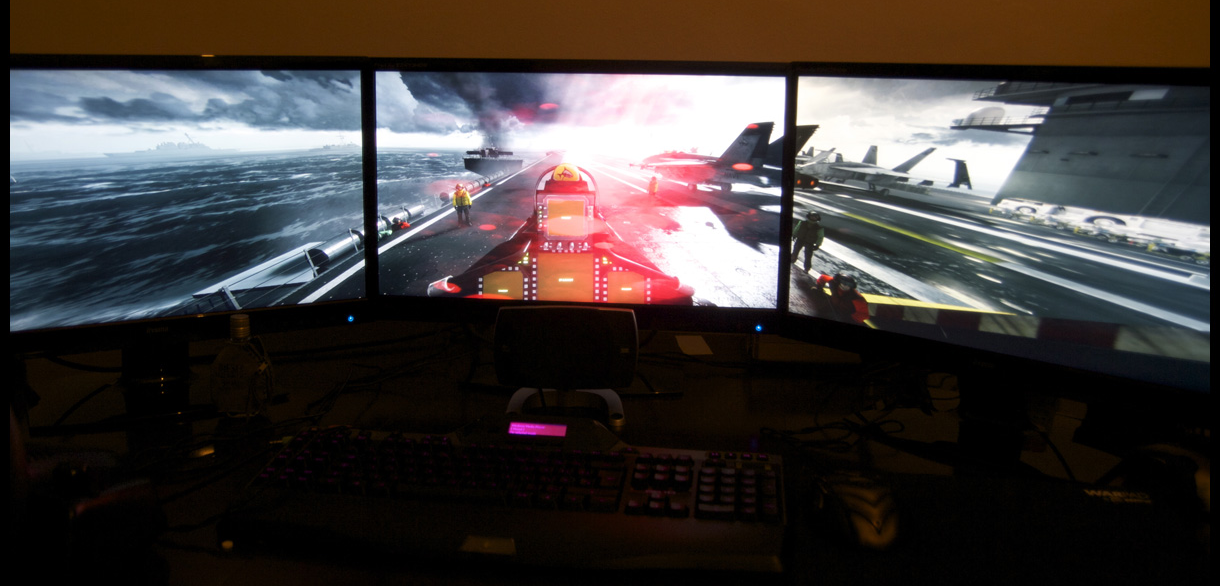
Part 3: Pick your other parts. Since we have already covered CPUs and GPUs, we want to also look at other core components that make up computers. The most important part of a computer after the CPU and GPU is the Motherboard. As mentioned before, you’ll want to get a mobo that corresponds with your chosen CPU, be it Intel or AMD. Another thing to check is that your chosen mobo has the same socket number as your processor. For example, Intel has LGA 1155, 1156, and 1366 sockets, among others. If your CPU is an LGA 1155 socket, then you want to be sure your mobo supports an LGA 1155 socket. Other than that, ook at the SATA (Serial ATA) speed of your mobo. Most new boards will be SATA 3.0/SATA 6Gb/s. In very simple terms, the SATA number is the speed at which your hard drives will communicate with your motherboard and thus the rest of your computer. The higher the SATA Gb/s number, the faster things will run. Additionally, if you plan on using more than 1 GPU, make sure your mobo has enough PCI-e slots to run your GPUs. Asus and Gigabyte both make quality mother boards that are a great value.
Talking about SATA types brings us to the next vital part of your gaming PC: the hard drive. There are current two main types of hard drives, Internal Hard Drives and Solid State Drives (SSDs). Internal hard drives have moving parts, which can cause a lag when your computer performs certain operations. Internal drives are also relatively inexpensive, and are standard in most pre-built desktop computers and laptops. Solid State Drives have no moving parts, and thus much faster than internal hard drives. Most new ultrabooks (laptops that are extremely thin and fast, like the MacBook Air) come stock with SSD drives. Going from using an internal hard drive to an SSD is like night and day in terms of how much faster your computer speed and response rate will be.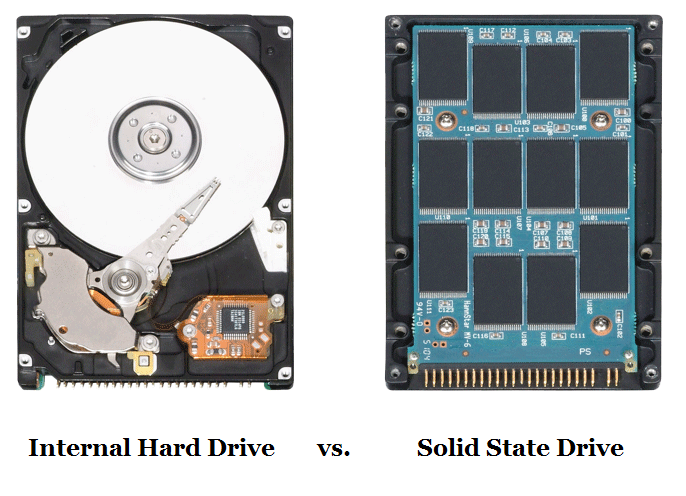
My tip for building the best gaming PC is to buy a 60-120GB SSD to run your operating system (OS). This makes it so that all of the main tasks completed by your computer will be done much more quickly. Since you will be limited on space, you can then buy an internal hard drive to store your music, movies, and other large files. Make sure to get an SSD3 drive as they are the newest and fastest SSDs available.
When building your gaming PC, a big decision to make is what size case you want to have. The main difference between case sizes is not only size, but cable management and air flow. While significantly larger, full tower cases provide better airflow for your parts that are likely to become very hot, like your CPU and GPU. If you’ve got the space and extra funds, I always recommend getting a full tower case.
For power supplies (Power Supply Unit, PSU), there are a few things to consider. A regular PSU comes with all of the connection cables already attached, whereas a modular PSU comes with fewer cables attached, but enables the users to attach additional, included cables, should they need to. Newegg has a very handy Power Supply Calculator which you can use to figure out just how much power you need for your new system. There are a lot of cheaper PSUs that look nice but don’t perform well, so stick with brands like Cooler Master, NZXT , Thermaltake, and XFX to ensure you are getting a quality PSU. If you’re going to be running more than one video card or any additional cooling, it’s better to have a higher wattage for your power supply.
The last parts you need to complete your gaming PC are Random Access Memory (RAM) and a CD/DVD Drive. RAM is additional memory your computer uses to perform intensive tasks. If you plan on doing any heavy photo or video editing with your machine, I would recommend grabbing 12GB or 16GB of RAM to ensure a smooth experience. For gaming, 8GB of Corsair Dominator or Corsair Vengeance will do the trick. Make sure your RAM frequency is compatible with your chosen mother board to avoid an unnecessary headache. Additionally, if you ever opt to upgrade from 8GB to 16GB, make sure the second 8GB you buy is the same make and type of the first 8GB you bought.
While they are becoming more obsolete, for desktop PCs I think it’s still important to grab a CD/DVD reader/burner for when you do get the occasional physical copy of a game to install. In addition, it’s important to get an aftermarket CPU Fan (heatsink) or liquid cooling for your CPU if you plan on overclocking your PC. A heatsink is like a radiator for your CPU, and while all CPUs come with a stock heatsink, these cannot handle the massive heat generated from an overlocked PC. If you try to overclock your CPU without a heatsink or liquid cooling, you could damage and possibly ruin your CPU.
That’s it for steps 1 to 3. Check out the follow-up article with steps 4 and 5: how to assemble your PC and how to get yourself up and gaming.

It is an amazing blog of building gaming PC having such a sound tips,which i had never seen before.Value Gaming PC and AMD Gaming Computers building tips will also be valuable .